How CSS Works
In this tutorial, we’ll take a quick look at how CSS works. CSS stands for Cascading Style Sheets, and it’s a language for adding design styles to HTML pages.
(If you don’t know HTML yet, see our HTML tutorial.)
In the HTML tutorial we left off with a file named cats.html that contained the following HTML code:
<!doctype html>
<html lang="en">
  <head>
    <meta charset="UTF-8" />
    <title>All About Cats</title>
  </head>
  <body>
    <h1>All About Cats</h1>
    <h2>What Is a Cat?</h2>
    <p>
      Lorem ipsum dolor sit amet consectetur adipisicing elit. Deserunt aliquam
      quisquam ullam? Soluta eveniet perspiciatis, ipsum corporis, eius quo
      recusandae ullam fugiat natus molestiae cumque tenetur quam commodi
      praesentium velit?
    </p>
    <h2>How Long Do Cats Live?</h2>
    <p>
      Lorem ipsum dolor sit amet consectetur adipisicing elit. Deserunt aliquam
      quisquam ullam? Soluta eveniet perspiciatis, ipsum corporis, eius quo
      recusandae ullam fugiat natus molestiae cumque tenetur quam commodi
      praesentium velit?
    </p>
    <img src="https://placekitten.com/400/400" alt="Cats" />
  </body>
</html>
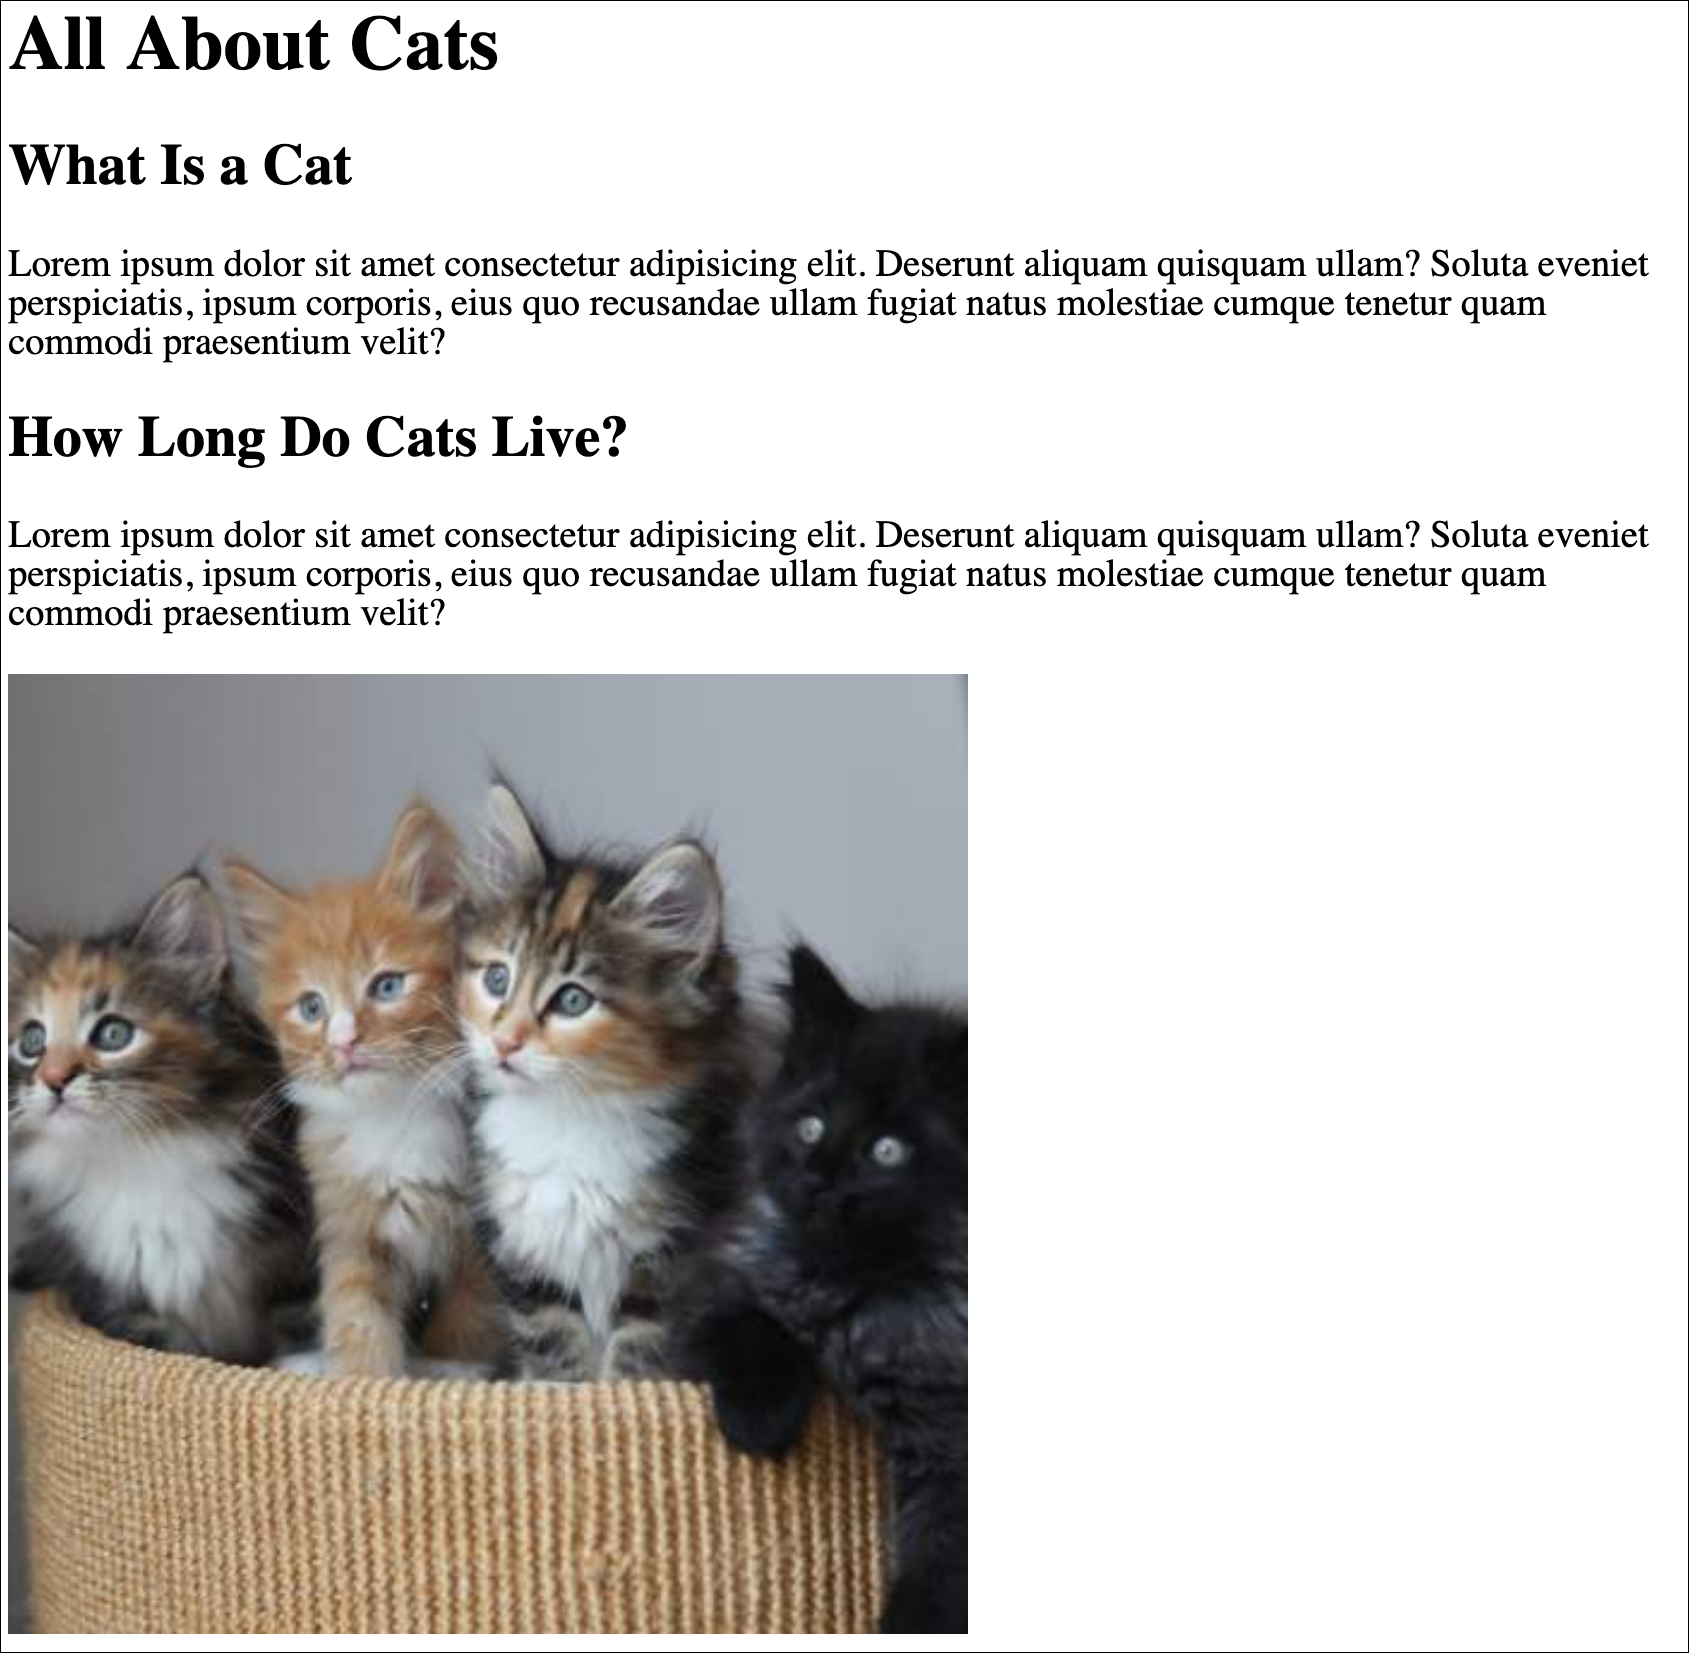
If you don’t already have that file, copy and paste that into a file and open it in a Web browser. It should look something like this:

In the <head> section of your HTML file, add a new <style></style> element:
<head>
  <meta charset="UTF-8" />
  <title>All About Cats</title>
  <style></style>
</head>
We can write CSS code between those tags to improve the design.
Selectors and Rules
First we select the target elements on the page by using selectors. There are several types of selectors. To select by the name of an HTML tag you can write the name of the tag without the angle brackets.
So to style all the paragraph (<p>) elements on a page, we could select them as p:
p {
  /* The rules go here. */
}We’re just writing the name of the HTML tag followed by curly braces.
For example, we could say that all paragraphs should be red like this:
p {
  color: red;
}
Update the cats.html file with the CSS rule so that it looks like this:
<!doctype html>
<html lang="en">
  <head>
    <meta charset="UTF-8" />
    <title>All About Cats</title>
    <style>
      p {
        color: red;
      }
    </style>
  </head>
  <body>
    <h1>All About Cats</h1>
    <h2>What Is a Cat?</h2>
    <p>
      Lorem ipsum dolor sit amet consectetur adipisicing elit. Deserunt aliquam
      quisquam ullam? Soluta eveniet perspiciatis, ipsum corporis, eius quo
      recusandae ullam fugiat natus molestiae cumque tenetur quam commodi
      praesentium velit?
    </p>
    <h2>How Long Do Cats Live?</h2>
    <p>
      Lorem ipsum dolor sit amet consectetur adipisicing elit. Deserunt aliquam
      quisquam ullam? Soluta eveniet perspiciatis, ipsum corporis, eius quo
      recusandae ullam fugiat natus molestiae cumque tenetur quam commodi
      praesentium velit?
    </p>
    <img src="https://placekitten.com/400/400" alt="Cats" />
  </body>
</html>
Then reload the page in the browser.
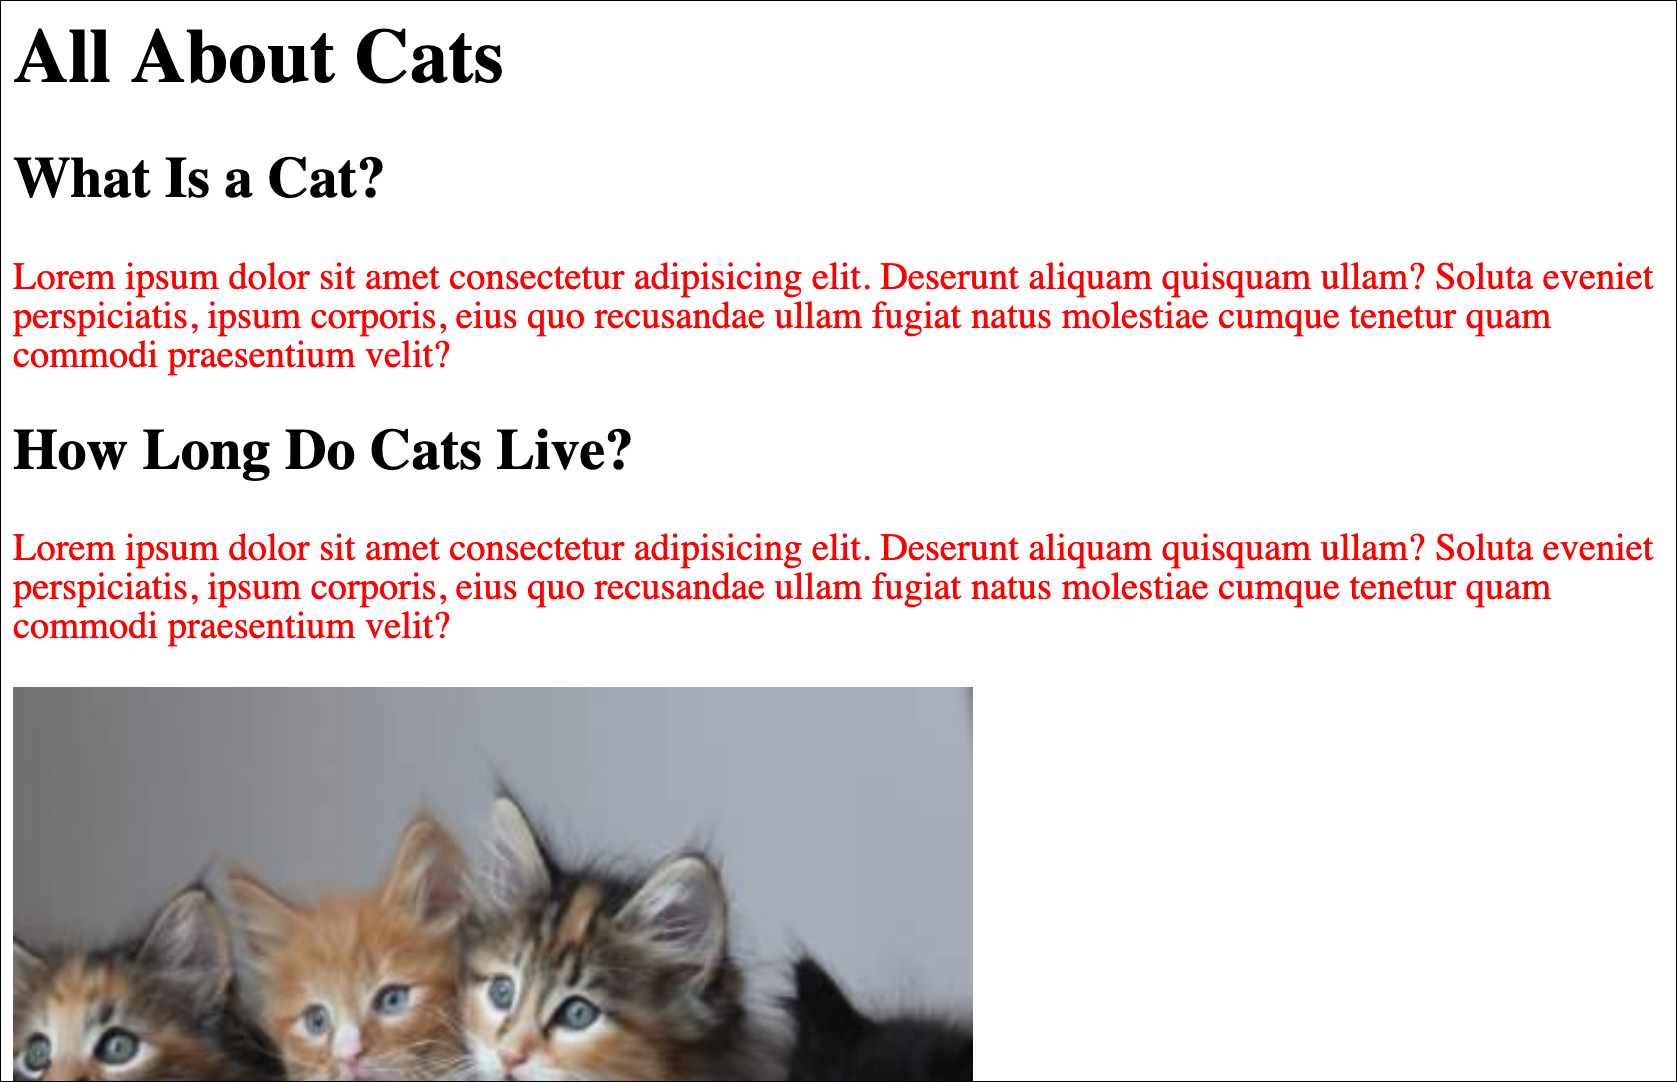
The paragraph text should now be red:

p is called a selector, and color: red; is called a declaration.
color is a CSS property, and red is a property value.
There are many different CSS properties that you can modify. Some common ones include:
colorbackground-colorpaddingmarginborderwidthheightborder-radiusfont-familyfont-size- and many more.
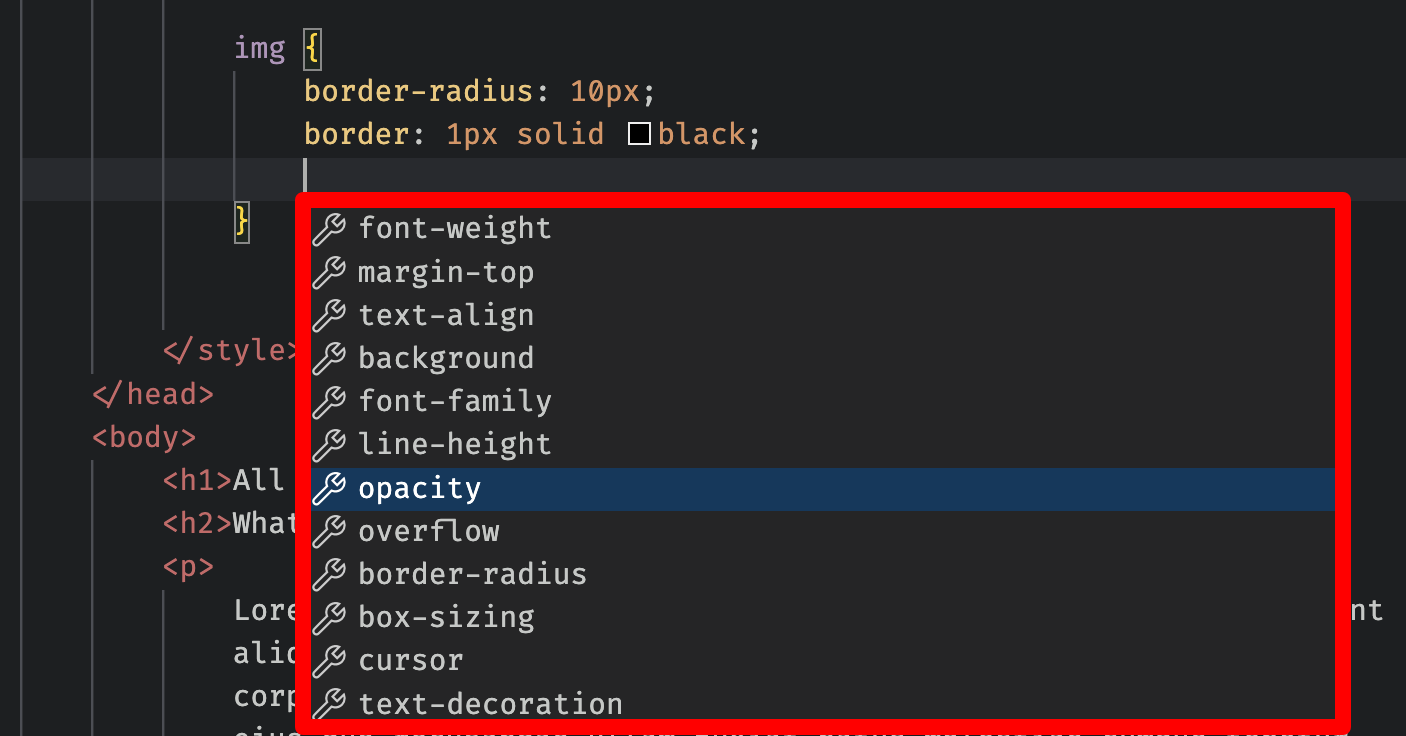
Each CSS property has various allowed property values. If you’re using a modern code editor, like VS Code, it should be able to suggest a list of properties and values when you press ctrl+space.

You can then search online for how to use that property.
The best way to learn is to decide what you want the page to look like. Then search through the available properties to find one that could work. Keep experimenting until you get the results you want.
Editing Some More CSS
In the next step, we’ll add a font from Google Fonts, center the text in the middle of the page, and add a rounded border around the image.
Change the <style> element so that it contains this CSS code:
<style>
  @import url("https://fonts.googleapis.com/css2?family=Comfortaa&display=swap");

  body {
    font-family: "Comfortaa", sans-serif;
    max-width: 700px;
    margin: auto;
  }

  img {
    border-radius: 10px;
    border: 1px solid black;
  }
</style>
First it imports a font from Google Fonts.
Then it uses a CSS selector to target the <body> tag. Anything inside that tag will get three rules applied: use the new font (Comfortaa), limit the width to 700 pixels, and automatically set the margins, which will center the body on the page.
body {
  font-family: "Comfortaa", sans-serif;
  max-width: 700px;
  margin: auto;
}
The image is given 10-pixel rounded corners and a black, solid border that is 1 pixel in width:
img {
  border-radius: 10px;
  border: 1px solid black;
}
If you reload the page it should look something like this now:

CSS isn’t used much in SEO except in a few cases, so we’re just going to mention the basics of how it works for now. If you want to learn more about how to style pages in the meantime, see MDN.
Takeaways
- Web pages are styled with a language called CSS.
- CSS uses selectors to target sections of the page and then declarations to apply design rules to them.